Best practices for printing on elegance products' logos
When you finally have your beauty or beauty products in hand, you realize that the size and design of your logo don’t look as good as you had hoped. Oh no! It’s either too little, too complex, or just the wrong color.).
How can you stop that from happening, then? You’ve certainly arrived at the right location.
To make sure your logo looks fantastic when printed on any beauty or skin care product, take into account some logo design best practices in this article, such as logo size guidelines, file types, major principles, and printing options.
The top 5 methods for printing a logo attractively on your device are listed below.
- 1.Keep it straightforward: comprehend the fundamentals of emblem size and design.
- 2.Flexibility: audacious yet straightforward
- 3.Tone: take the background into account.
- 4.Creating and exporting logos, including different file types
- 5.Be aware of your publishing options.
1. Keep it straightforward: comprehend the fundamentals of emblem size and design.
Vector files
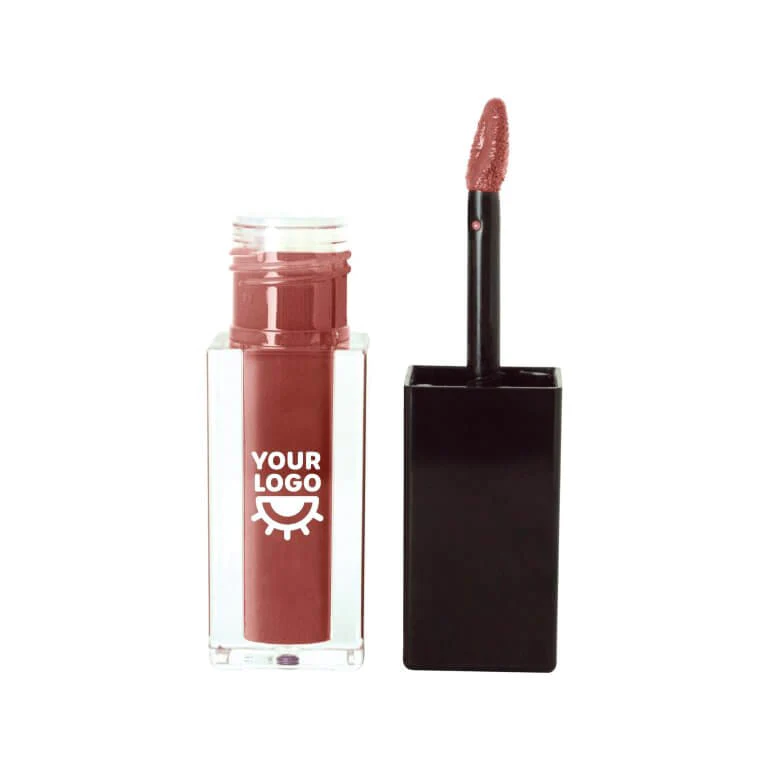
You want skincare and beauty products to have eye-catching logos. This calls for bold lines and the phrase “Keep It Simple” in your logo. Additionally, keeping your logo simple and strong will help smaller, thinner beauty products like mouth or eyebrow pencils look good with it.
Clean, wonderful print jobs will be more difficult the more complex they are. The principles are correct in the remaining logo. Products today have bold, dark lines that can be used to print your logo. With this method, your logo may also appear sophisticated and elevated in any color!
2. Flexibility: audacious yet straightforward
Materials for skincare and beauty can be very small or very large. The area of our larger eyeshadow palettes is the perfect size for a large, lovely logo. Some logos are very difficult to see on our smaller products, such as lip pencils, which are thinner and have a much smaller area region. You can take a few steps to ensure that your logo looks fantastic on all of our products, even the smallest types!
Tip1:Stay away from slim lines.
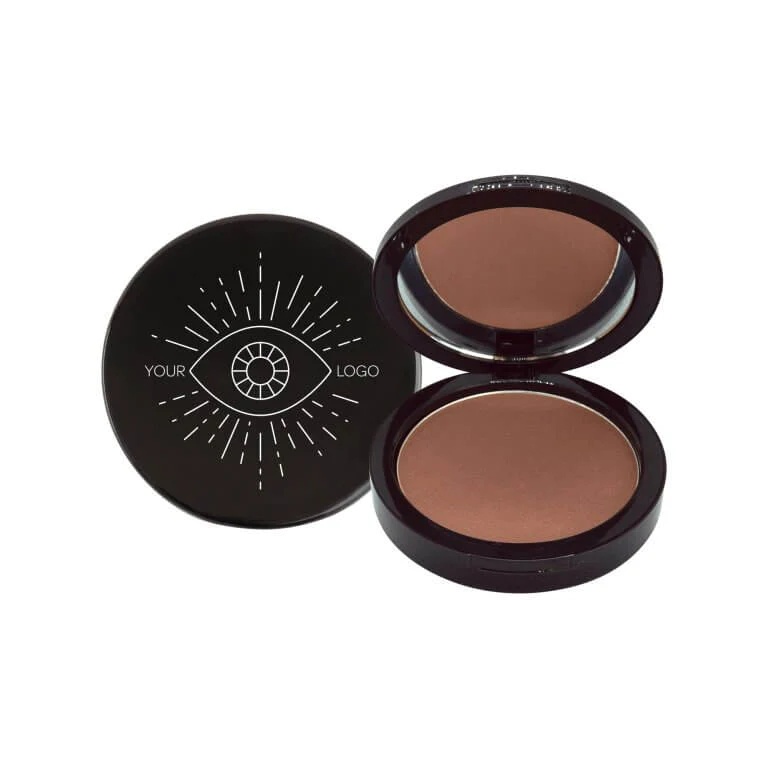
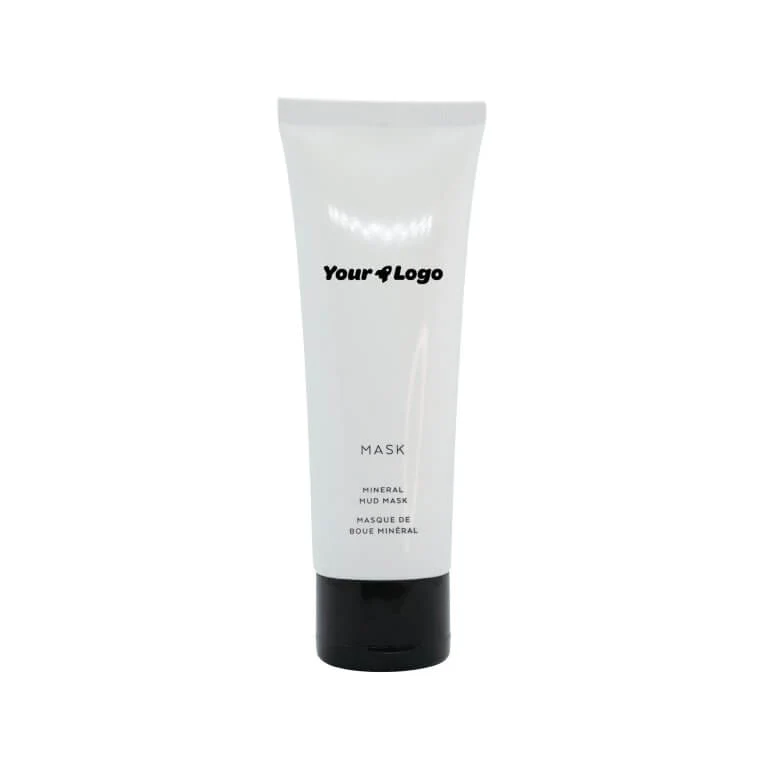
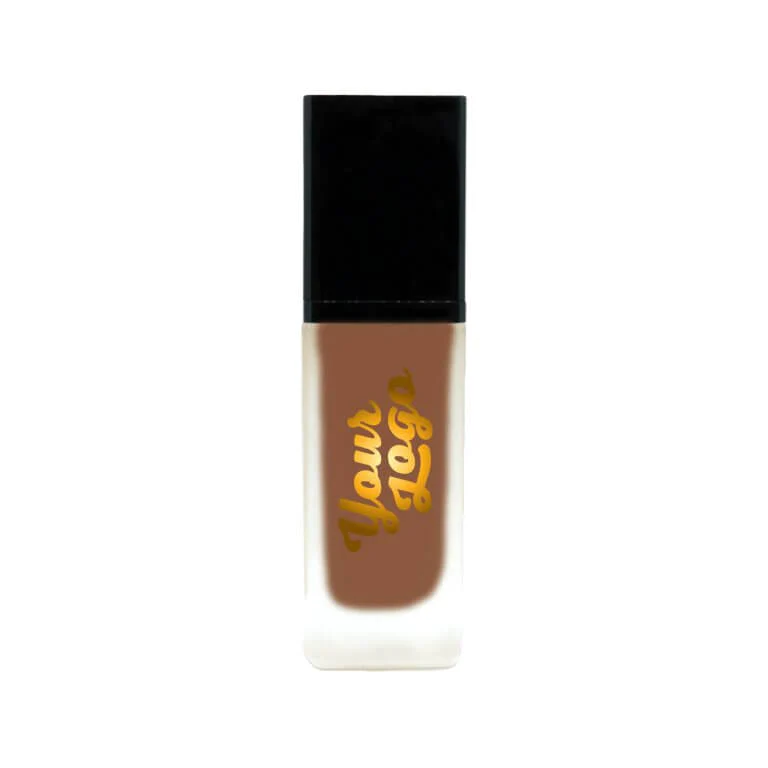
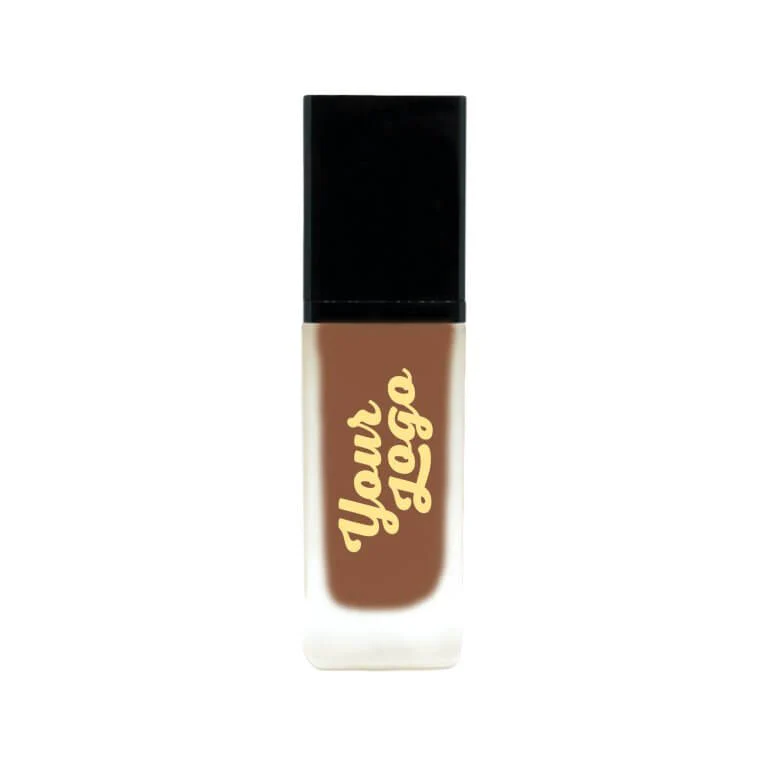
Thin lines don’t scale down very well, making them difficult to see or understand, despite the fact that many thin stroke( or lines) may look fantastic on a screen. A larger bronzer product( left) might look great with a logo like this one, but when printed on matte lip stain, the text and graphic are difficult to read:
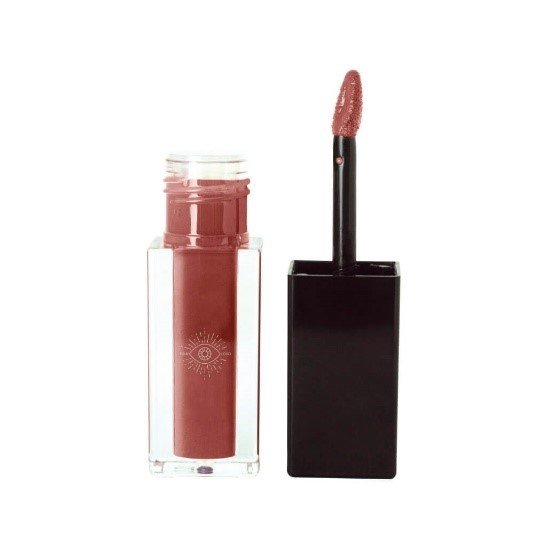
This logo, in contrast, is much clearer on the lip stain and has dense lines:
Tip2:Pick a font that is striking.
A font with tiny strokes can make your logo difficult to read on a small scale, much like thin lines for graphics. These two typefaces, for instance, can both be read on a large scale.
However, if you draw them with a lip pencil, the narrow collections become almost nonexistent and difficult to read.


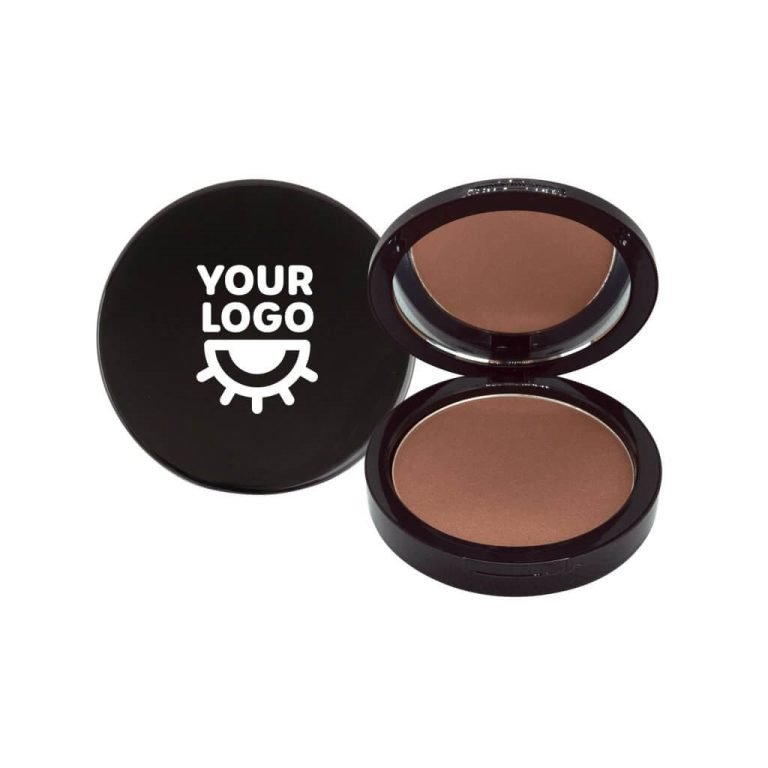
Tip3:Choose images without outlines and with solid colors and shapes.
While it may be tempting to add a large, intricate graphic to your logo, keeping your graphics clean and simple is preferable for best printing techniques. Instead of outlines, choose solid shapes. For instance, the text is overwhelmed by the complexity of the rocket illustration( below). The text will become unreadable when it is scaled down to a smaller product.
The graphics is a strong shape that will scale also for all different print applications, and the alternative here keeps the bold text as the logo’s primary focus.
3.Tone: take the background into account.
Consider all the hues and shimmers your item will have if you’re considering starting your own lip gloss line. Consider how your logo would appear on background with multiple colors. Will a marine lip gloss tube look good with your gold and silver logo? Will your purple and gold logo appear clearly on a product with bright red lip gloss?
Variations should be avoided.
To create your logo stand out, it may be tempting to add a curve. Variations, however, can detract from the logo itself and frequently appear untidy. Classical and durable colors include courageous and straightforward solid hues.
4.Creating and exporting logos, including different file types
Vector files
Keep on! Before you send off your branding, ensure that your logo is a vector image and not a raster image. Not sure what a raster image is? Hold reading!
Vector vs. Raster
A vector image ensures that your logo may look great on any size elegance or skin care product without the risk of it looking poor quality. This type of image is composed of items, collections, and curves that are based upon numerical formulas. A vector image ensures that your logo may look great on any size elegance or skin care product without the risk of it looking poor quality. This type of image is composed of items, collections, and curves that are based upon numerical formulas. However, a raster image is made up of mathematical shapes, also known as pixels, and when you enlarge a raster logo image like a jpg, your logo may seem questionable if you make it bigger than its original size.
On the other hand, your vector image logo may enlarge efficiently to any size you want so it will look wonderful on lipstick caps, as well as a colossal billboard.
Leave is the expanded vector version. Immediately is the expanded raster version. You can see the pixilation distinction!
How will a vector image help me?
You can level the branding bigger or smaller while retaining the original dimensions and most importantly, excellent.
What matrix files are suitable for printing?
These are the 3 most popular vector file categories:
ai, eps, svg
Most commonly, designers create logos in Adobe Illustrator, export it as xhtml or earnings files for making, or trade as many formats such as png or jpg for electronic uses like your website. A fairly straightforward process!
Pixels and emblem size variations
Branding size dimensions are measured in pixels for electronic requirements and inches or millimeters for printing. You’ll want to make sure your logo looks nice both small and large, so consider the possible programs and how it will be displayed.
You’ll want to try to define minimal as styles as guidelines to ensure you can see everything clearly. Some individuals have vertical, square, and upright versions of their logos. This can help you develop the products you want to write on with these logo dimensions variations in hand. It’s important to each, each this like this will count as a separate logo if you are printing it, so keep that in mind when selecting your beloved!
5.Be aware of your publishing options.
Option 1 –printing on a sheet
With this choice, you can write on silky plastics. Your makeup products can be printed at home using inkcups’ products.
Option 2 – UV printing on handheld devices
Your beauty products can have your logo technologically UV printed on them, resulting in long-lasting, tough printed private-label products. For instance, Blanka offers this service to retailers who want to brand-logo-private brand their beauty items.
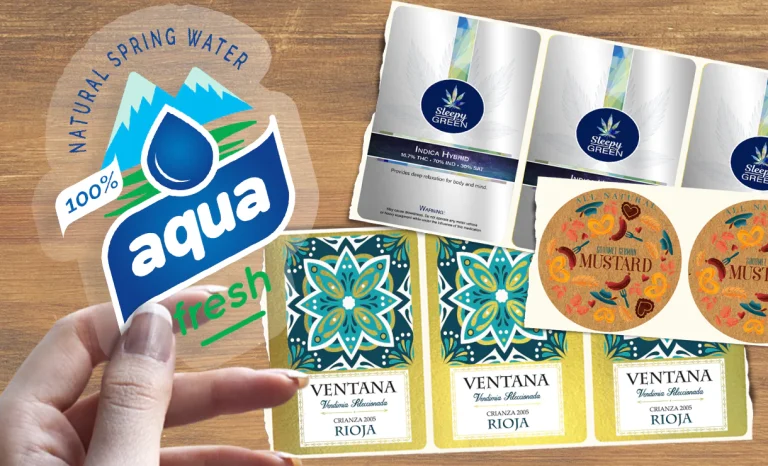
Option 3 – Label Stickers
You can write your own labels using printers like QL-300 or hire printing firms like Moo to create stickers.
Result
To ensure that your logo looks fantastic on all of your lovely products, it is important to understand logo design best practices. You’re now prepared to private label your products, including file type, logo size, key ideas for bold strokes, and keeping your logo simple.
Blanca Tip: Are you interested in having your logo created? Help is available from Blanca’s logo design services! …
Anyone can begin private labeling makeup and skincare products from Blanka in less than 30 minutes, keeping things straightforward. We’ll send you mockups of your logo to show you how it will appear in a day if you have it ready. Sounds like a venture you’re willing to take on? To begin, click the button below.